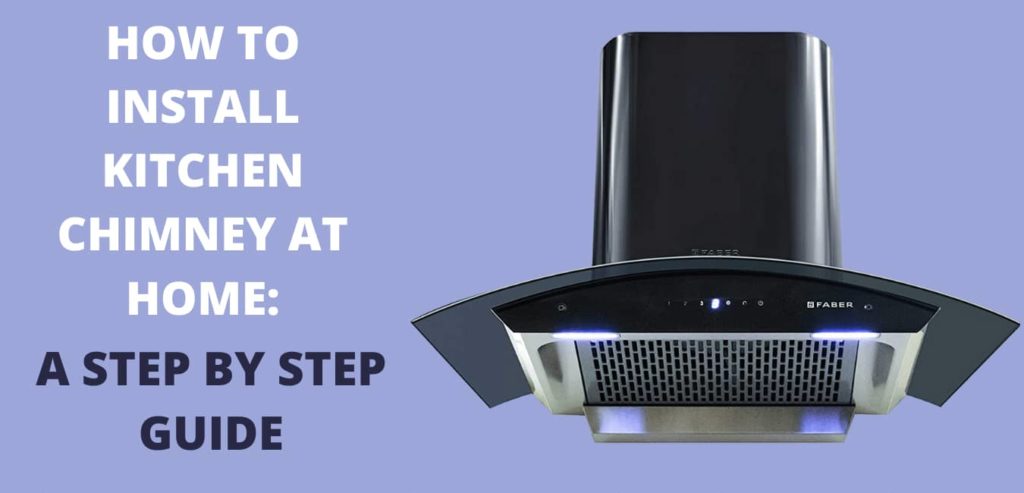
Did you know there is a specific manner on how to install kitchen chimney at home? Well, you need not worry about calling in the professional each time. There are times when you can very much get a job done by yourself. It is quite exciting to get your kitchen made over, and the only missing piece is the chimney. Once up there, you know there is going to be long-term freedom from choking on smokes, unwanted cooking smells, and oil spurts from disrupting the oratory balance of your home. So, here are a few pointers on how to get started when you wish to install a kitchen chimney by yourself.
Contents
1. Where: Select The Right Spot
There are three types to choose from depending upon where you wish to fix your chimney.
- Island Chimney: This is right at the centre of the kitchen, where the island of the workstation is situated. The island Chimney is attached at the cooking top attached to the ceiling at the spot.
- Wall Mount Chimney: This is located adjacent to the walls. In this case, the hob is fixed attached to the wall side of your choice.
- Built-in Chimney: This is secretive and discreet with the Chimneys installed within the wooden fixtures. Usually implemented by the corporates in large kitchen settings.
Also Read: Best Electric Kettles in India
2. How High: The Height
This is the distance between the stove and the hood of the chimney—quite an important point when you need to Install a kitchen chimney at home. Too close, and the chimney can catch fire too far, and it might not be too effective. Ideally, the height must be anywhere between 24 inches to 30 inches.
Also Read: Best Sandwich Maker in India 2021
3. Point Matters: The Fastening
Once you have decided upon the exact height to fix your chimney in your kitchen, you need to mark the right spots. This involves drilling at the right places for the screws to get into. At first, the hood goes on, followed by the chimney. Also, before you finally fix them up, you need to ensure that the Chimney head fits well onto the spot you have marked.
Also Read: Best Microwave Oven in India
4. Duct Or No Duct
When purchasing a Chimney for your home, be sure to understand if it is Duct or Ductless. In the case of a Duct Chimney, make sure it is stainless steel type. As for the length, it should not exceed more than 12 feet. Longer ducts involve more bends during installations that can result in reduced efficiency.
Also Read: Best Chimney In India 2021
5. Make the Cut
You need to make a 6 inch wide circular cut or opening on the external wall for chimney installation at home. This is where the duct of the chimney goes, and most homes might not have this exhaust opening in your home. However, for this, you might need professional help and ensure that it is not less than 7 feet above the ground.
Also Read: Best Dishwasher In India 2021
6. The Spigot
The best part is that most Chimney kits include a built-in universal spigot. This way, you can attach the exhaust pipe without any hassles. These are available in 4, 5, and 6 inches of diameter.
7. Wire Them Up
This needs to be done by the book. Though simple yet crucial, you can easily understand the main pointers of the wiring. The insides of the chimney are comprised of two sets of wires; White and Black. These belong to the fan and light, one of each colour for both. Likewise, the Black and the White wires are also found within the connections witing your walls. While the fan is the main part of the chimney, the lights are an option. Attach the light wires only if you require to. This is mainly essential if you need to save power. Also, there is going to be a set of Green wires too. This is one of the most important ones, as they are the earthing wires that are meant to save against short circuits. The wiring up is simple, the Whites go with the Whites, and the Blacks go with the Blacks. As for the Green wire, it needs to get attached to the ‘green grounding screw.’ The final placement calls for the fixing of the hood and switch-ON the power. That’s it, and you are all set.
Before you Go: Safety First
This is the Step by Step Guide chimney installation procedure. But nothing is more important than your safety. So, before you embark on your task to install the kitchen Chimney by self, there are a few precautions you need to bear in mind:
- Do get yourself a nice pair of Rubber gloves. This is because Rubber is a bad conductor of electricity and helps keep you safe. In case of any short circuit, you are sure to be safe from a major disaster.
- As a rule of the thumb, before you start your installation task, you need to Power-OFF the main electric supply at home. Also, be sure to lock up the Panel, as you do not want anyone to switch it ON by mistake as you get working.
- It is always a smart choice to test the wires before you fix them up. This way, you will not have to be dealing with live wires at any point.
- Lastly, if nothing seems to be working out, simply get hold of a professional electrician. This might cost you a few bucks but surely save you a lot of trouble.
Factors to Consider When Selecting the Right Chimney
- Make sure that you get the right Chimney size for your home. For two burners, a 60 Cm chimney is just fine. As for the four burners, a 90 cm needs to be considered.
- The Suction power of the chimney needs to be considered. Mostly the range falls between 700 m3/hr. to 1600 m3/hr.
- The Style of the Chimney should be in sync with the rest of your kitchen space. With the available styles and brands, this should not be a matter of concern.
- With the Filter-less Chimneys making it big in the market, you need not worry about cleaning anymore.
- Also, the product’s warranty period is essential, as the after-sales service goes a great deal in ensuring you have a good experience.
How To Install Kitchen Chimney At Home : The Conclusion
The kitchen chimney installations are DIY’s you can try. However, a bit of knowledge is never a bad thing. Even if you decide to get professional help, you will be aware that the guy is not doing a good job. Most top brands and manufacturers have ensured that the chimney installation kit is easy to use and understand.