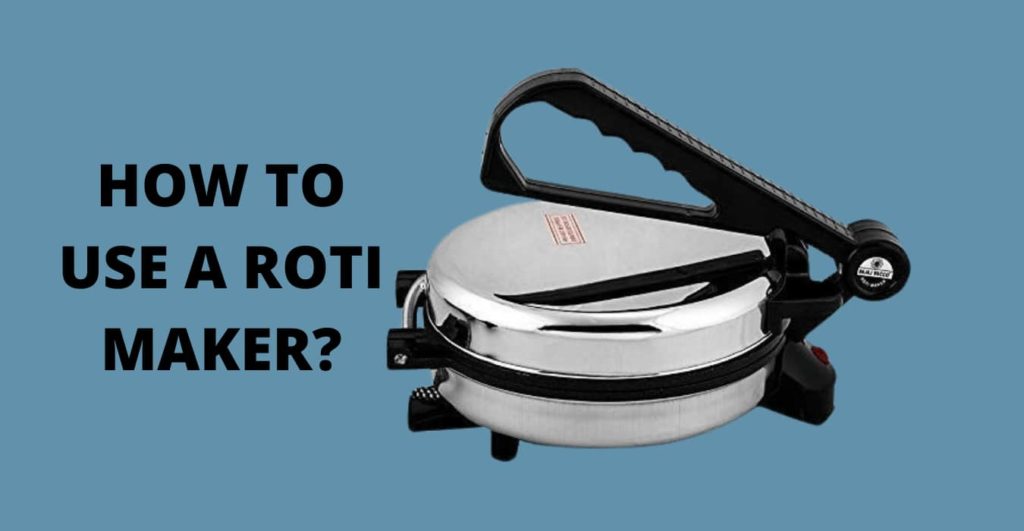
How to Use a Roti Maker? While it might appear like a simple ordeal, nevertheless, there is a certain ‘method’ to being able to use the Roti Maker. This kitchen appliance is not exactly your top seller but is relevant enough nonetheless. There are people who vouch for the Roti maker and greatly depend upon it for preparing delicious Rotis. But the first one needs to understand the fact that the traditional methods of Roti preparations are un-exchangeable. However, the Roti Maker comes to aid many beginners who struggle with achieving the desired results. The appliance is a perfect ‘escape’ to make the entire process quite compact.
To start with, you can get rid of the clutter. There is a considerable decrease in the steps involved, and you are rewarded with almost-traditional rotis in less time. Before we decide how to use the chapati machine, we need to get a few facts about the Roti maker itself.
There are a few aspects you need to get straight. Ask yourself the following questions before you can decide:
- Does the Roti maker work?
- Is the appliance worth it?
- Can you prepare good rotis in a roti maker?
- Is it worth the investment?
How To Use Chapati Maker?
So, how do you get by using the Roti maker:
Also Read: Best Washing Machine in India
1. The Dough
Firstly, you need to prepare the dough for the Roties. This can be done manually or in a Food Processor. Either way, the consistency should be just suitable to your requirements. However, there are a few facts that you need to get right to get the dough right:
- Prepare the dough with a little more water than usual to ensure the Roties are soft in a maker.
- Let rest the prepared dough for 30 to 60 minutes before finally being able to use them to prepare the Roties in the Roti maker.
- Try to avoid using the stored Atta when making the Rotis in the maker.
Also Read: Best Juicers in India
2. Roll the Roti Balls
The next step on how to use the roti presser is to roll out the atta balls. You might have observed your mom prepare these the traditional way. This is a simple step that requires you to scoop out enough dough into the palm of your hand and roll them into ball-shaped structures. These should be just as many as you require.
Also Read: Best Pedestal Fan in India
3. Start the Appliance
Finally, you need to access your Roti maker. It is time to get it started to cook the roties:
- Plug the device into the right socket.
- Be sure to open the lid as you do so.
- Let it heat for about 5 minutes till the heating lights turn OFF
When the lights turn OFF, you know that the Roti Maker is ready to do some cooking.
4. The Roti Preparation
To start preparing the Roties in the Roti maker, you will need to:
- Take one of the Atta balls and dust it with a little amount of dry flour.
- Now, place this on the surface of the tawaa, taking care to not burn yourself in the process.
- Now, gently yet firmly, shut the lid of the maker and hold for not more than 1-2 seconds.
- After this, open the lid and allow the Roti to cook for 15 to 20 seconds on the tawaa. This is the time you will find your Roti ballooning-up.
- Flip and let cook again on the other side for up to 15 to 20 seconds.
- Repeat until you feel the Rotis are done.
- Remove from the tawaa and place them into a hot pot and cover with a lid.
Tips To Get The Rotis Soft In A Roti Maker
Now that you know how to make chapatti using the chapatti maker, it is time to get some tips on ensuring the rotis turn out soft. As there is no sure-short method for doing this, some tips can help:
- While skill, method, and techniques are relevant aspects, nevertheless, do not underestimate the importance of quality. This is referring to the quality of the Atta that you will be using for preparing nice fluffy Rotis in the maker.
- Be sure to prepare fresh dough whenever preparing Rotis in a maker. Get yourself some freshly prepared dough and continue with the preparation.
- Learn to time yourself rightly. This refers to being able to flip the Rotis at the perfect time when required in the tawaa. If not done rightly, you can end up with ‘hard pappads instead of soft chapattis.’
- Also, the fact that it is necessary to allow ‘rest’ the kneaded dough before you finally plunge into the tawaa is necessary. This allows the Atta to ‘self-rise’ a bit, hence ensuring the chapattis are soft once cooked.
- Finally, do not leave the Rotis out in the open once they are prepared, and this essentially means that you need to straight away store them in a nice hot pot with a secure lid to sustain their softness and moisture before you finally eat them.
- Before you go, it is important to remember that freshly prepared Rotis are the most delicious. Usually, we tend to leave for quite some time before we eat; hence they lose their softness.
How to Use a Roti Maker? : The Conclusion
The Roti maker is a simple yet effective appliance when it comes to being able to roll out soft rotis in record time. However, there are certain do’s and don’ts that one needs to bear in mind when dealing with this electronic appliance. The best part about the Roti maker is that even the men of the family can try their hands at Roti preparation with the help of the Roti maker. However, be sure to get yourself a nice Roti maker from a trusted brand. Various aspects like Safety handles, shockproof designs, and lightweight material are important aspects to consider when buying a Roti maker.